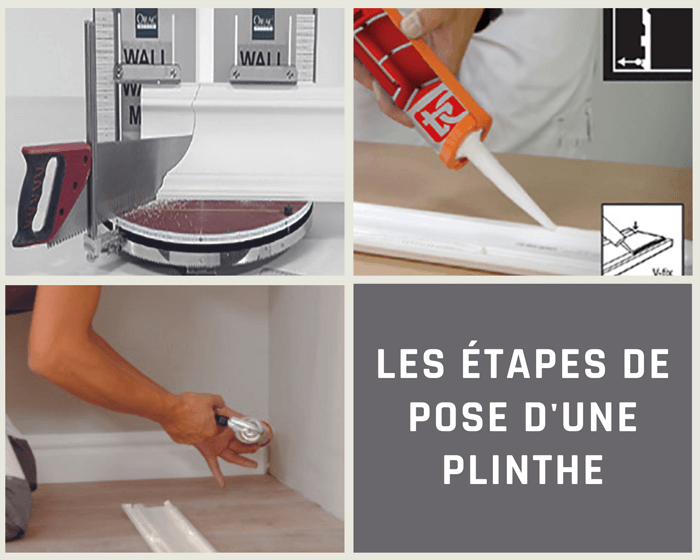
The steps to install a plinth

Skirting boards are finishing elements that protect the bottom of walls while finishing the wall coverings in an elegant way. They are installed at the end of the work, as part of the finishing touches. They are usually chosen to coordinate with the floor covering, but can also be used to make a stylish statement. There are several ways to install plinths: gluing, nailing or screwing. Learn more about them to choose the technique that best suits your needs.
For a successful installation, your plinths must be ready to install. To do this, you’ll need to prepare them carefully.
Calculate exactly how many plinths you will need to cover the required length before making your purchase. Allow for one or two extra pieces to make up for any losses or cutouts, or more if your room has many corners.
Sanding and cleaning
Lightly sand the surface of the plinths with fine grit paper to even out the surface and remove any chips.
Dust them well to remove all impurities.
Cutting the plinths
To install your plinths, always start from a corner of the room. Determine the different cuts to be made in the corners and junctions.
Several cutting techniques are possible:
- Straight cuts to attach plinths to each other or for door frames.
- Cuts with an incoming angle on one side and an outgoing angle on the other side so that the baseboards overlap in a straight line.
- 45° bevelled cuts in the corners.
- If your plinths are tile, don’t attempt any beveled cuts. Stick to straight cuts. For corners, plinths will meet with a straight cut that the joint will naturally fill in for a clean, crisp finish.
Clean cuts are essential. Use a miter saw and hold the plinths in place. Once the cut is made, sand the edges to remove any splinters and get a perfectly straight result.
If your plinths are made of tile, cut them with an electric diamond disc cutter for a better finish.


